-
FREE RESOURCES
Drone flying & skills
Drone careers & jobs
Drone industry applications

- SCHOOLS
- NEWS
- (888) 626-1490
- Course Login
- SUBSCRIBE
Want to learn how to fly a drone? Then you came to the right place.
We made this guide to flying a drone to help you prepare for your first flight—and to help you go beyond that, and start learning how to fly.
It also has information to help you stay safe while flying a drone, tips on getting airborne, and both basic and advanced drone flying techniques.
Want to work on specific skills? Use the menu below to jump around, or read straight through if you’d like to learn everything we cover.
Interested in becoming a commercial drone pilot? Learn more about the FAA’s Part 107 certification process here.
Watch this video for a quick, 3-minute overview of what to do when flying a drone for the first time:
And watch this video for a quick look at our top recommended exercises for learning how to fly a drone:
Just getting started with learning how to fly a drone?
Don’t worry. Eventually, the controls will become second nature and you won’t even think about how to move them. You’ll just be flying.
But to get there, you need to practice. A lot.
The first thing to say is that, when you first start out, push the sticks very gently so the drone performs slight movements. As you get more comfortable, you can make sharper movements.
(Note: For simplicity’s sake, this article assumes that the left stick controls yaw and throttle, and the right stick controls roll and pitch. Some transmitters allow the pilot to switch these controls based on what’s most comfortable.)

Let’s go through each of them.
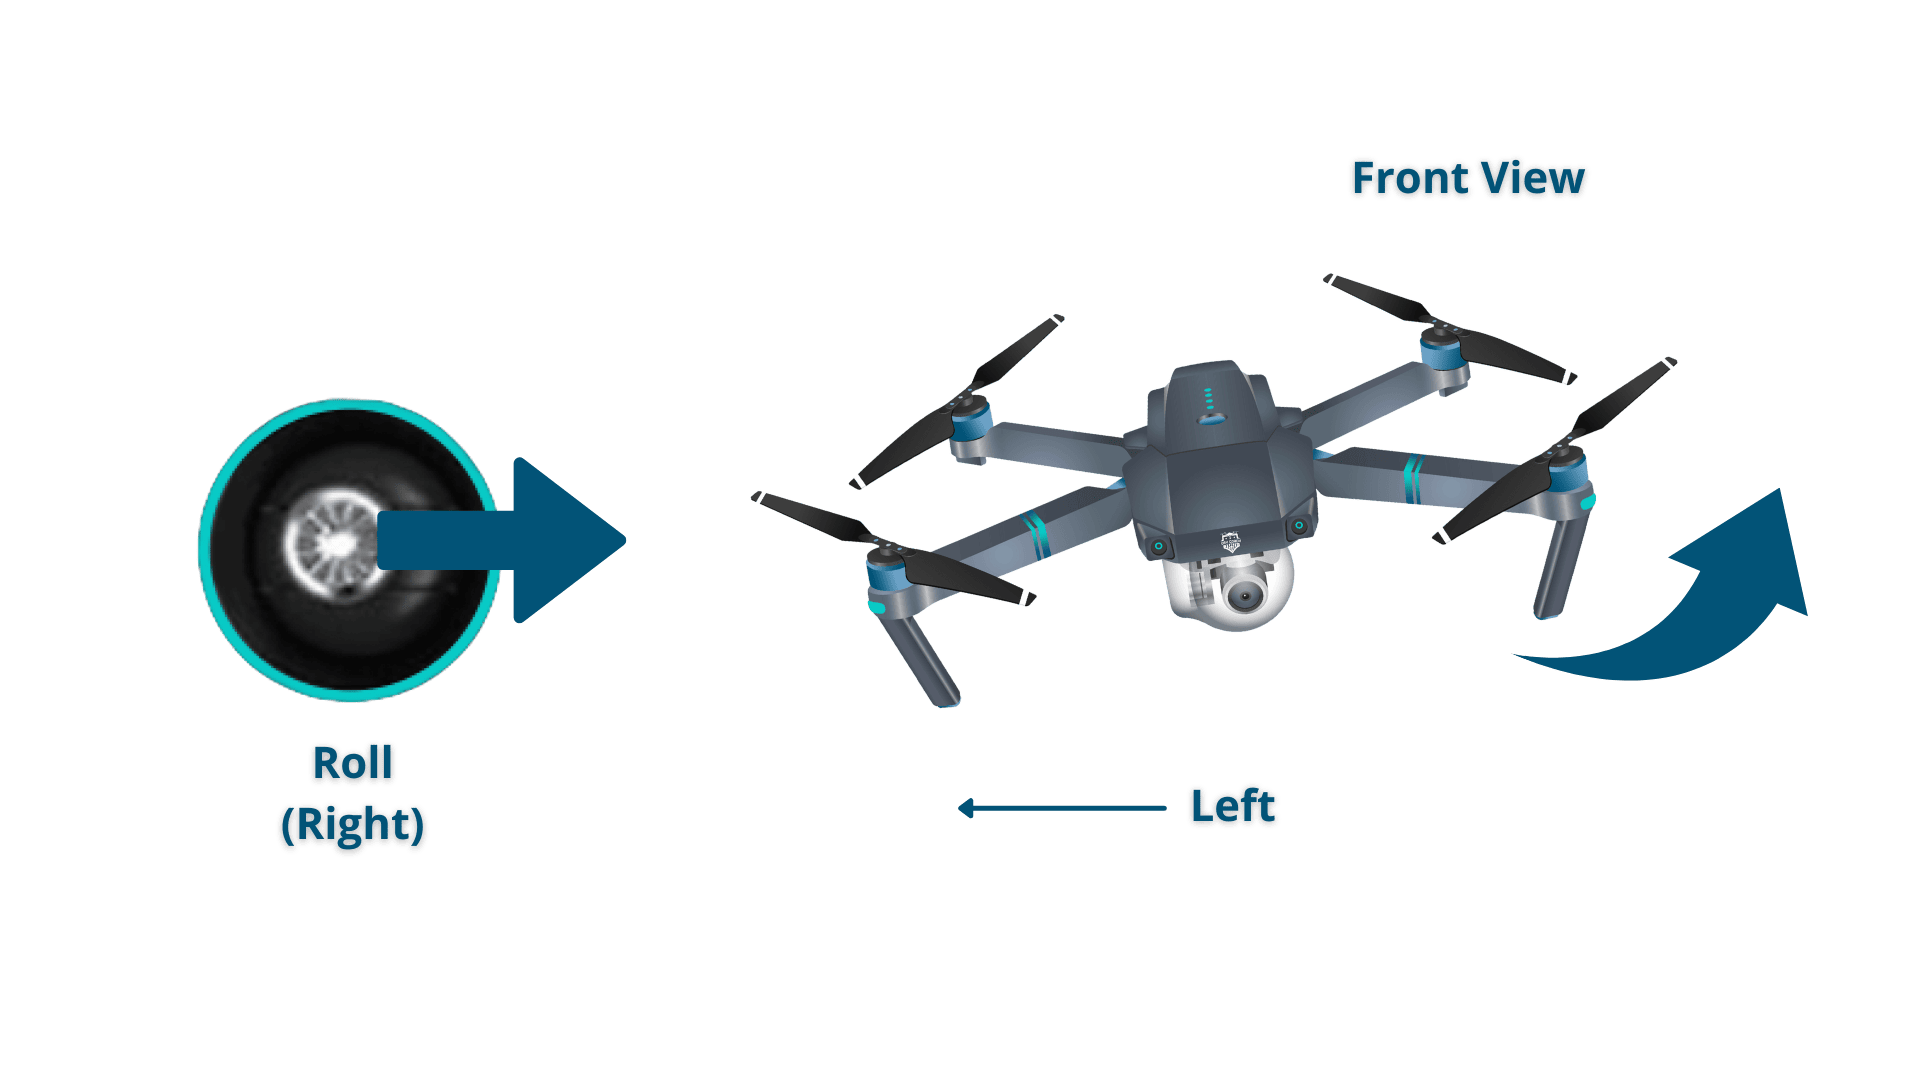
Roll moves your drone left or right. It’s done by pushing the right stick on your controller to the left or to the right.
It’s called “roll” because it literally rolls the drone.
For example, as you push the right stick to the left, the drone will roll to the right.
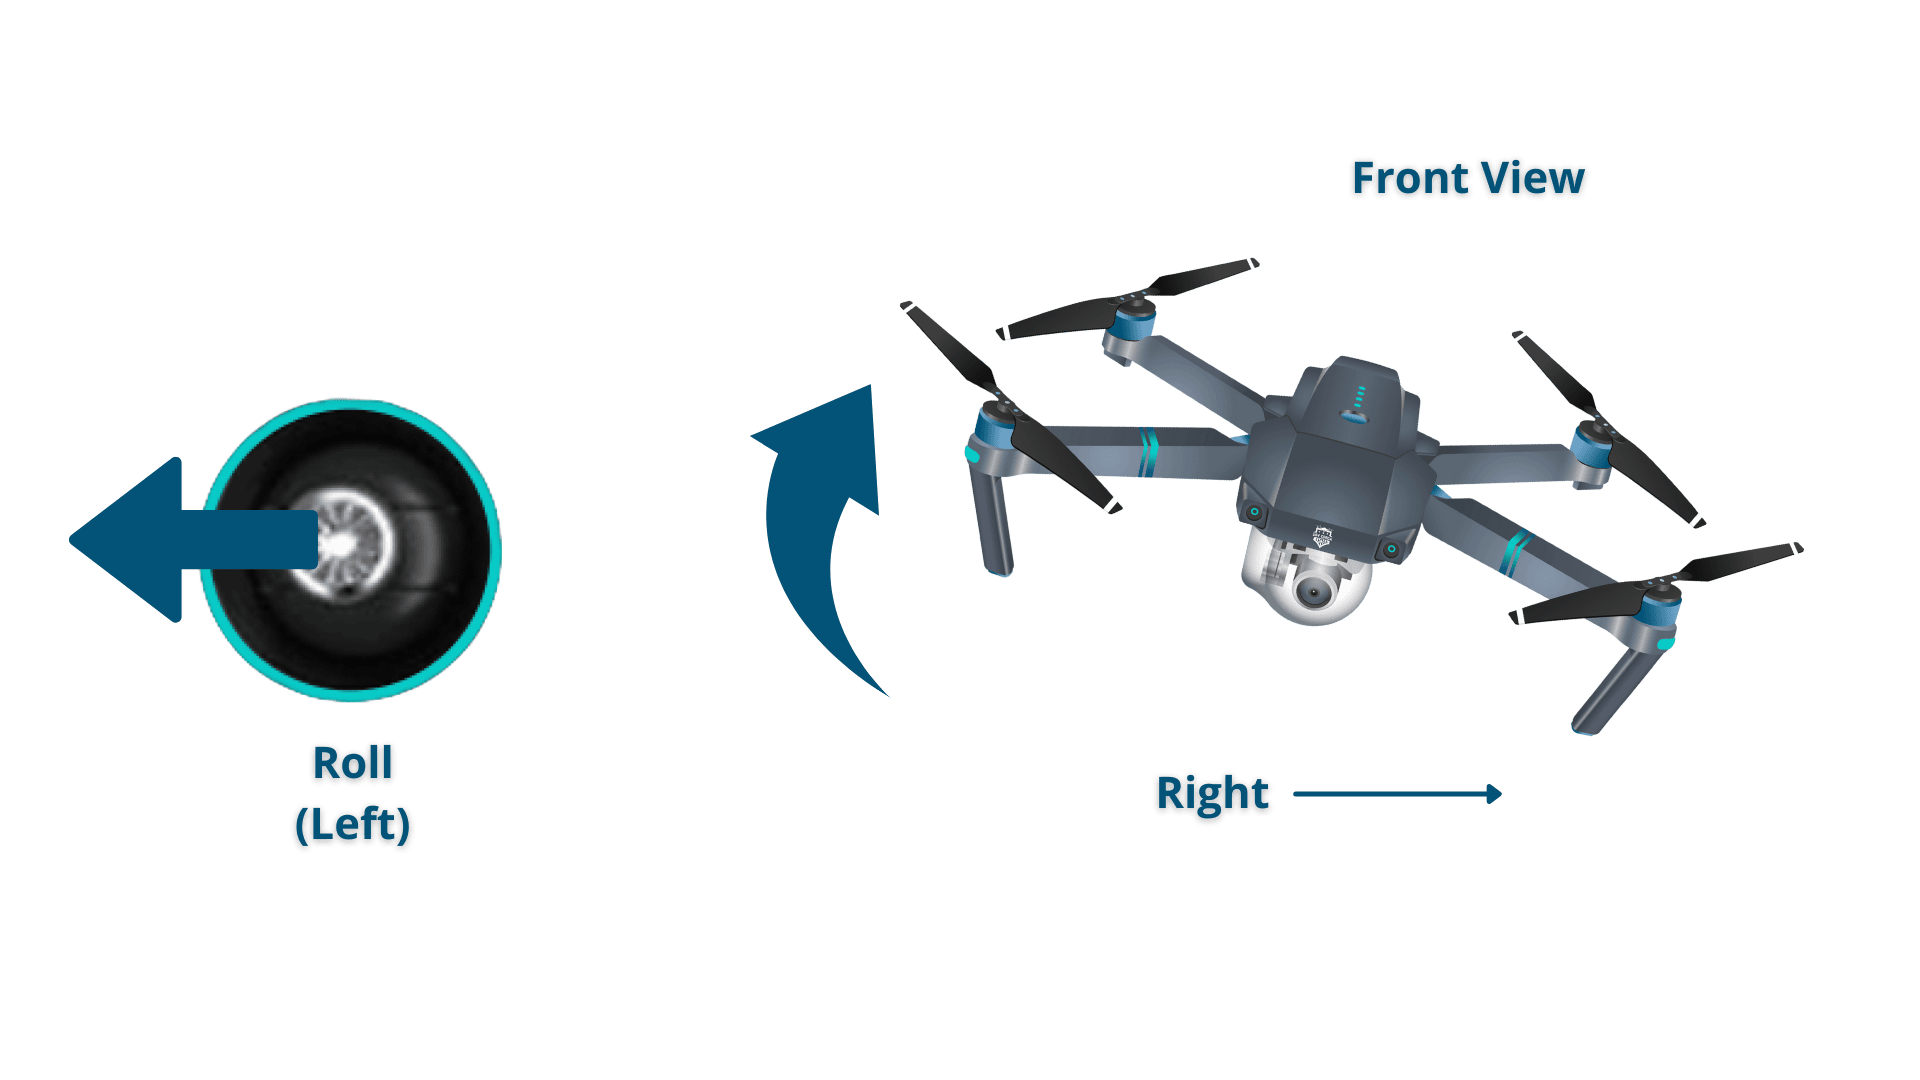
When you push the right stick to the right, the drone will roll to the left.
Pitch is done by pushing the right stick on your controller forwards or backward. This will tilt the drone, resulting in forwards or backward movement.
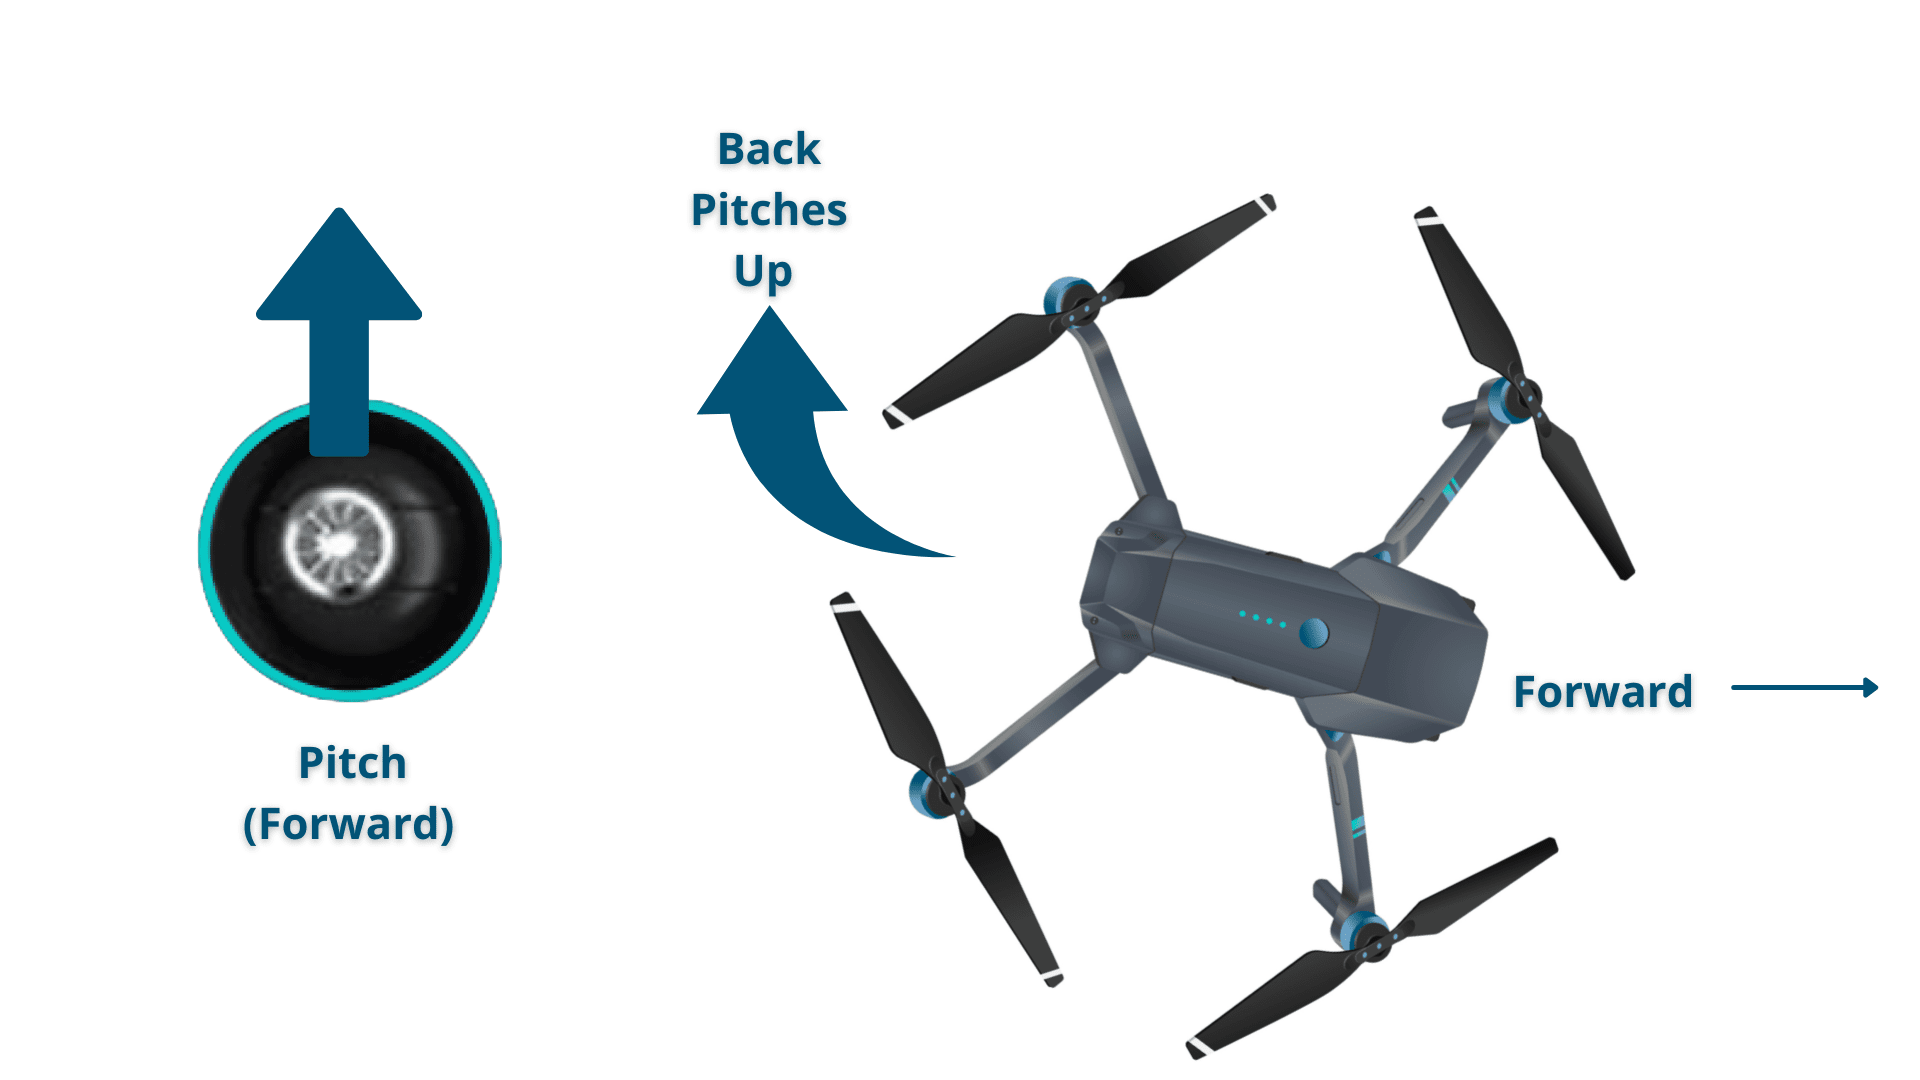
When the right stick is pushed forward, the back of the drone will pitch up causing the air to push the drone forward.
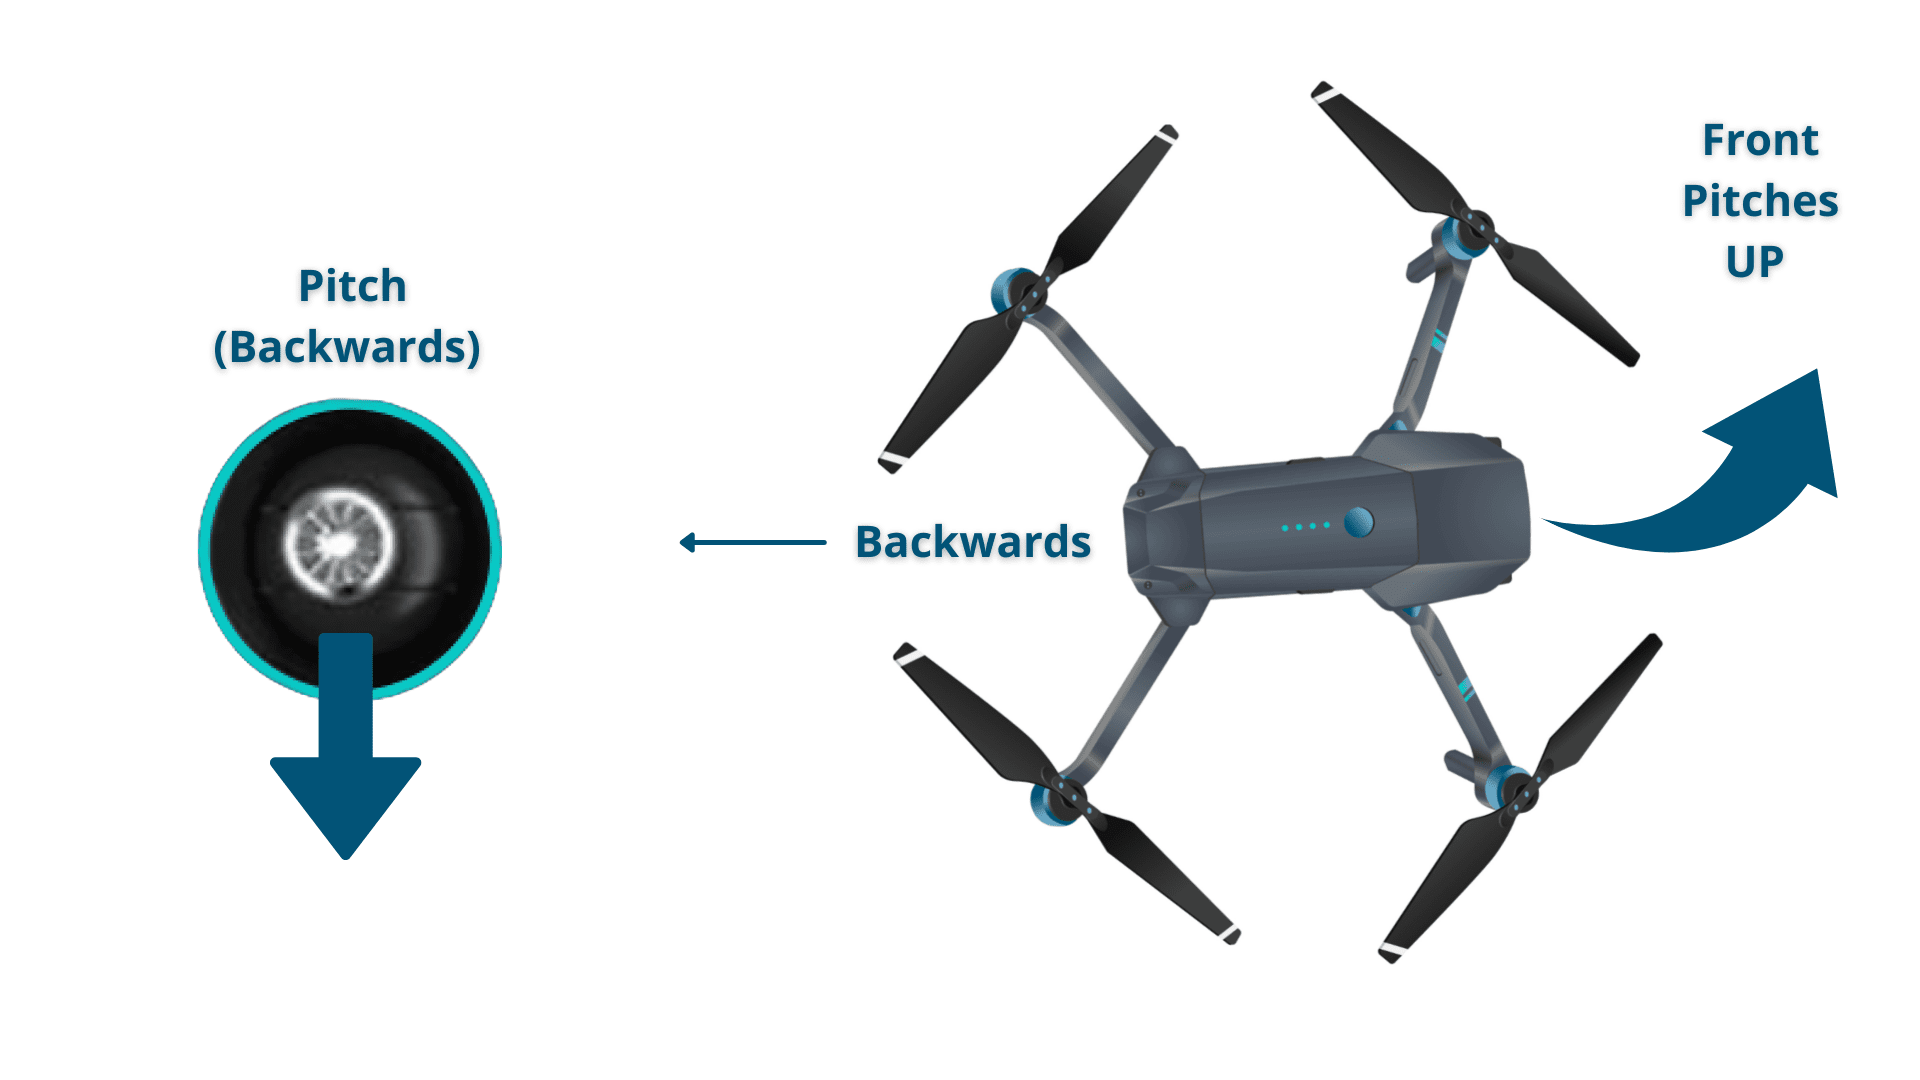
If the right stick is pulled backward, the front of the drone will pitch up causing the air to push the drone backward.
Drone Control—Yaw (Left Stick)
Yaw was a little bit confusing for me in the beginning. Essentially, it rotates the drone clockwise or counterclockwise.
This is done by pushing the left stick to the left or to the right—watch from 1:59 to 2:44 in the video below for an example, making sure to pay attention to how he adjusts the sticks.
Yaw is typically used at the same time as throttle during continuous flight. This allows the pilot to make circles and patterns. It also allows videographers and photographers to follow objects that might be changing directions.
Throttle gives the propellers on your drone enough power to get airborne. When flying, you will have the throttle engaged constantly.
To engage the throttle, push the left stick forward. To disengage, pull it backwards.
Make sure not to disengage completely until you’re a couple of inches away from the ground. Otherwise, you might damage the drone, and your training will be cut short.
When the drone is facing ‘away from you’, camera pointed away from you, the controls are intuitive and:
But when the drone’s camera is facing you, the controls are inverted and the drone will move in the opposite direction based on the stick input.
So pay close attention to the way the drone is oriented toward you when you start providing stick input.
[Related read: Best Drone for Kids: A Practical Buying Guide for Parents]
Going through a checklist before you fly can keep you and your drone safe.
Here are all the drone pre-flight checklists you need to keep you and your drone safe—use the menu to jump to each list.
Feeling intimidated by all these lists?
Don’t worry! It’s not actually as complicated as it seems.
We just wanted to put all of these things in one place in a single drone pre-flight checklist so you could have the peace of mind that you’ve thought of everything before you fly.
Here are your pre-flight checklists:
OK, now that we’ve covered all the preliminary information we can get into how to actually fly.
But before we get started, let’s cover a few important safety protocols and recommendations.
First’ it’s important to note that drones aren’t toys and can be dangerous. Let’s lay out some initial safety precautions to ensure a safe flight:
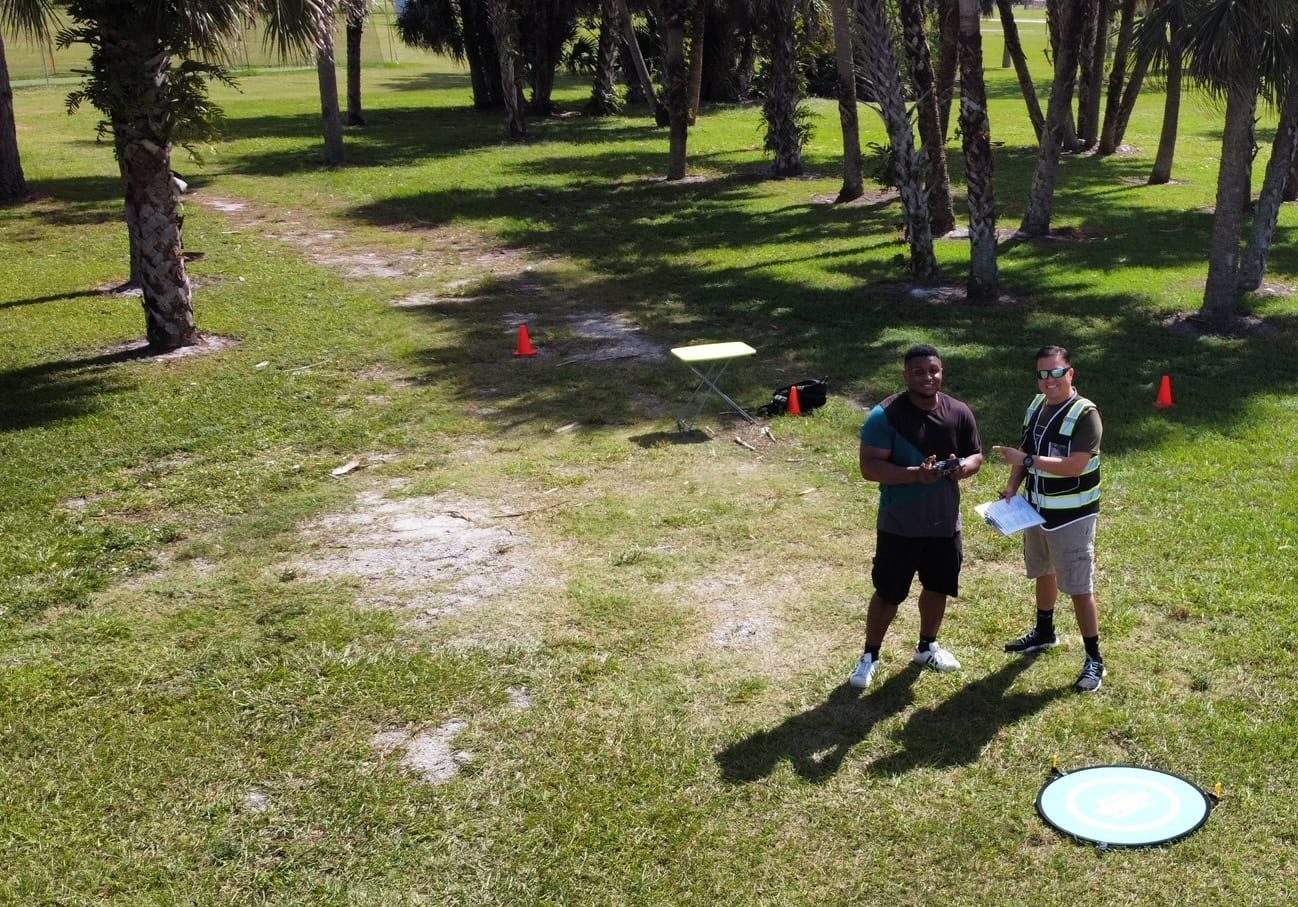
Choosing a safe and legal flight location is also crucial for a safe operation. Here are some tips on finding the perfect spot:
Alright! Now that you understand the controls and you’ve taken all of the right safety precautions, you’re ready to fly.
Congrats! You know how to get your drone airborne.
Now, let’s learn how to hover in mid-air.
Raising your drone off the ground to a hover and then bringing it back down is an essential skill, and the first one we’re going to highlight in this guide.
Here are the steps for hovering in midair and then landing:
Start our Drone Training Exercises video at 1:25 for more on hovering:
To fly a drone left, right, forwards, and backwards, you will need to hold the throttle at a steady rate to keep it airborne. You will then use the right stick to maneuver the drone in the direction you want it to go.
Here are the steps for flying left/right and forward/back:
Pro tip: When you move in either direction, you will probably notice the drone dropping in altitude. To keep the drone at the same altitude, push the throttle and give it more power whenever you turn or move.
You’ve gotten off the ground, and you know how to fly a drone in the four basic directions.
Now, it’s time to combine these skills and start flying in patterns. This will help you get a feel for simultaneously engaging the controls.
Here are the seps for flying in a square:
You’ve just flown in a square! Keep doing this until you get comfortable with it, and then move on to our next pattern—flying in a circle.
Start our Drone Training Exercises video at 3:27 for more on flying in a square:
This is where you will hone your simultaneous control skills.
To fly a drone in a circle, you will use pitch, roll, and throttle at the same time.
Here are the steps for flying in a circle:
Start our Drone Training Exercises video at 3:58 for more on flying in a square:
Above, we practice flying in a square and circle with no yaw.
Now that you’ve gotten both of those exercises under your belt we’re going to incorporate yaw into your practice.
Here are the steps for flying so you rotate using yaw:
Start our Drone Training Exercises video at 5:48 for more on using yaw when you fly:
Flying a drone continuously requires you to rotate and change directions simultaneously.
This will take some getting used to, because the drone will be facing different angles in relation to how you’re facing, so you will need to pay close attention to how each movement of the sticks will affect the drone’s flight.
Here are the steps for flying continuously:
Congrats! Now you know how to fly a drone with continuous movement.
Keep practicing until you can direct your drone at will. Then, move on to the next section, where we’ll discuss different milestones for you to shoot for.
Use these milestones to keep you organized during the learning process.
They will help you gauge where you’re at and what you should be going for next.
We’ve listed 15 exercises you can use in our Drone Training Exercises video.
You can use the full list (found in the description of the video on YouTube) as a guideline for different milestones to try and hit in your flying, along with small tutorials on how to do each one.
Here are some advanced flying techniques for you to master:
Another way you can get better at flying is by using NIST bucket stands.
Here’s a 3-part series we made to show you how it’s done:
Nice work! You’ve finished our How to Fly a Drone training guide! We hope it gets you on your way to flying a drone like a pro.
So, where should you go from here?
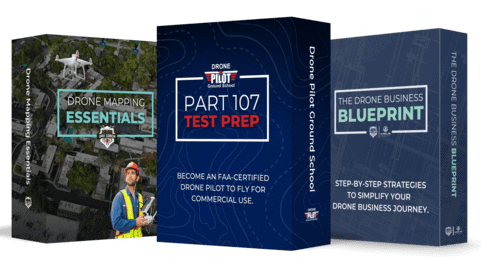
Here are some resources to help you continue your drone journey:
Blue skies and safe flying out there!