-
FREE RESOURCES
Drone flying & skills
Drone careers & jobs
Drone industry applications

- SCHOOLS
- NEWS
- (888) 626-1490
- Course Login
- SUBSCRIBE

Want to learn about drone videography?
Then you’ve come to the right place. This in-depth guide to aerial videography takes you through seven key steps to help you get up to speed.
Learning to take buttery-smooth footage can take some time, as can the editing/post-production process. But stick with it and you’ll be producing professional-quality drone videos in no time.
Want to accelerate your learning? Check out Aerial Photo & Video for Drone Pilots—Whether you’re looking to enhance your hobby or build a business, this course covers everything from camera settings to post-production techniques.
Check out the course here—and use code DRONE50 for $50 off.

Alright, let’s dive into the training tips, which we’ve organized into the following chapters:
[Want to become a commercial drone pilot? Learn how to get your FAA drone license.]
If you’re doing drone photography and videography in the U.S. you’ll need to fly either as:
Not flying in the U.S.? Here’s a directory of global drone laws.
Are you flying for work or for fun?
Watch this video to learn more about current rules and regulations:

It’s important to develop a strong command of manual flight proficiency using the four joystick movements of thrust, yaw, pitch, and roll.
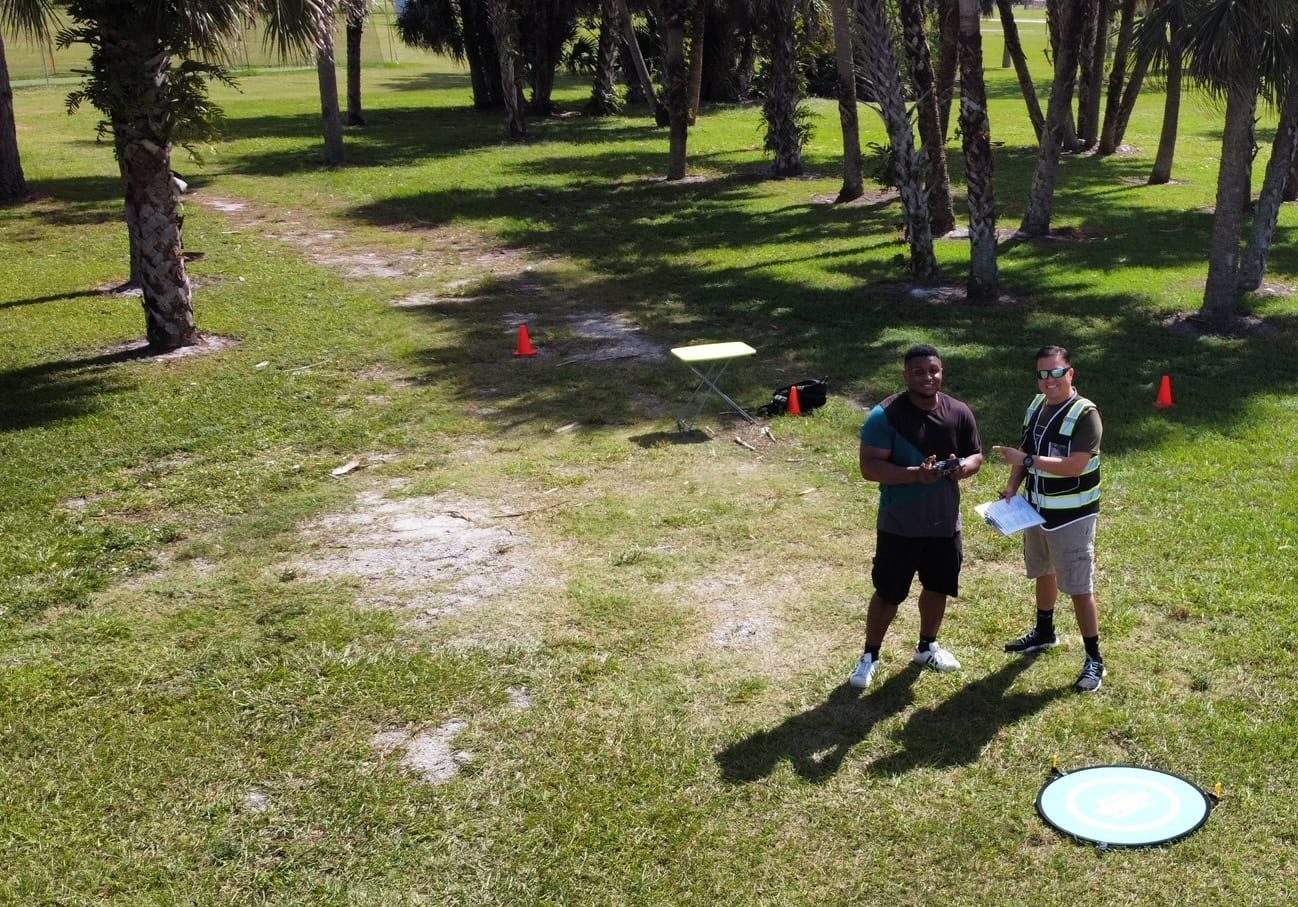
Watch this video to see the beginner exercises we recommend when you’re first learning to fly, and keep reading for more guidance.
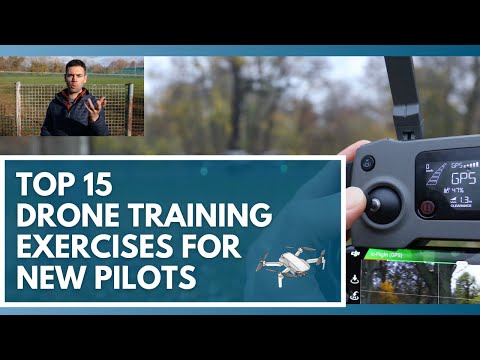
Here are the main training exercises our instructors do with our hands-on drone flight training students to practice manual flight proficiency:
As a newer drone pilot, one of the more challenging aspects of drone flight proficiency that you face is super slow and steady movements. Learning to move your joysticks and to tilt the gimbal at a slow and constant velocity can take some time to develop.
All this to say, when you’re practicing the shots above, try doing so as slowly and cinematically as possible.
Want some more resources for getting started with your drone? Here you go:


After you feel comfortable with the basics of flying, it’s time to start building up your aerial videography chops.
Watch the video below for a walk through of the beginner exercises we recommend when you’re first starting out with aerial videography, and keep reading for more guidance.

And once you feel comfortable with the basics, try practicing some of these basic aerial drone videography shots:
Once you start getting the hang of these shots, move on to these:

For a number of reasons, it’s important to learn to fly your drone manually.
But it’s also important to gain mastery of your drone’s Intelligent Flight Modes. These modes help to reduce the pilot workload and to obtain performance characteristics that might not be possible or extremely difficult in manual flight.
As an example, DJI drones offer Intelligent Flight Modes that can be extremely helpful to aerial videographers. Here are a few of our favorites:
Learn more about DJI’s Intelligent Flight Modes:

Return-to-Home (RTH) is a great safety feature, but it’s also one of the top reasons new drone pilots crash. It’s really important to read your drone’s user manual and to understand how Return-to-Home is triggered and programmed.
When you’re flying a DJI drone, for example, RTH can be triggered in one of three ways:
And you need to understand how to set your RTH point, how dynamic RTH works, and how to pre-program your RTH altitude.
And for what it’s worth, I don’t typically like to land in RTH mode. I’ll let RTH bring the drone back to about 20-30 feet above my RTH point/landing zone, and then I’ll switch back over to manual controls to land. That can be a great thing to practice as well.
At the end of the day, a drone is simply a tool. If you don’t know how to use the tool, you’ll be limited in how far you’re able to take your drone videography.
Learning to think like a filmmaker, from building a storyboard and repertoire of shots and understanding how they can add drama or interest to your story — that’s what will set you apart from the rest of the pack.
In our Aerial Photo & Video for Drone Pilots course, you’ll learn simple tactics for high quality drone shots, how to understand your settings, a full walkthrough the post-production process and so much more.
The vast majority of drone videography and aerial cinematography coming out of Hollywood is quite simple. There might be a slight motion from the drone and maybe a subtle gimbal tilt or rotation, but the real beauty of the shot comes from tactics like:
There’s always going to be a better drone or a stronger camera. You don’t need the latest and greatest system to produce professional work.
But you DO need to learn to think like a filmmaker, so start practicing!
Here’s a list of the most common drone videography shots to start honing and working into your repertoire as a professional drone cinematographer:
So you’ve been building your repertoire of different drone shots, thinking like a filmmaker, practicing your Intelligent Flight Modes and developing a strong command of your local drone laws.
When you think about planning for and completing a drone mission, there are a few different workflows to consider, usually in this order:
As you conduct more and more flight missions, you’ll get a better feel for your own processes, specifically when it comes to pre-mission planning and airspace research.
To quote the Part 107 regulations, “a remote pilot-in-command must conduct a preflight inspection to include specific aircraft and control station systems checks and to ensure the small UAS is in a condition for safe operation.”
While there’s no one catch-all pre-flight checklist that’ll work for every pilot and every drone model, hopefully, the below list helps you better understand the best practices around powering up your drone and taking to the skies.
First, let’s assume:
Here’s a checklist of things to consider as part of your pre-flight ritual. Again, these are not exhaustive and might change depending on the specific model you’re operating and the type of flight missions you’re conducting.
WEATHER & SITE SAFETY CHECK
VISUAL AIRCRAFT / SYSTEM INSPECTION
POWERING UP
TAKING OFF
This is a short chapter—but an important tip!
Ideally, your flight path and video recording start well before your intended shot (and end well after). This is called “flying through the shot.”
Doing so will not only offer more editing room on the front and back-end of each shot, but the pacing will help you start to think and act more like a professional filmmaker.
Shooting buttery-smooth raw footage is only half the battle. Post-production is where the real magic happens. Learning how to color correct grade your shots is one element of that.
Here’s a color grading tutorial you may find helpful:
Again, if you’re looking to fast-track your post-production skills, we highly recommend enrolling in our online course, Aerial Photo & Video for Drone Pilots. In the Video Post-Production module, we’ll help you choose the right editing software and give you a full editing walkthrough on a couple of our favorites.
While free or low-cost video editing software (iMovie, Blender, Lightworks, etc.) is a great way to practice, we ultimately recommend something more professional like Apple’s Final Cut Pro, Adobe Premiere, or DaVinci Resolve.