5 Pro Tips on Color Correction—A Necessary Part of Every (Yes, Every) Clip You Send to a Client
BY Alan Perlman
27 February 2019Color correction is the secret ingredient that can help separate you from the competition.
In this article, we’ll go through five color correction tips to help you better understand how to do it the right way.
There’s much more to learn to perfect your aerial photography and videography. We’re partnered with Stewart and Alina over at Drone Film Guide where they teach drone pilots a 5-step framework for creating stunning aerial cinematography. As a partner, we’re able to offer our readers a $50 discount on their 8-hour online course, Drone Cinematography Masterclass 3.0, From Drone Owner To Aerial Cinematographer.
Color Correction
Color Correction is the process of adjusting the clips you shot to get good exposure in the image. You do this by balancing the light in the shot.
Color correction and grading are art forms in and of themselves. Just like it takes an editor many years and much experience to master their craft, the same holds true for a colorist. For major productions (and even many smaller ones these days) the colorist is a separate job from the editor. They sometimes don’t even talk to each other much because once the edit is done, the colorist takes over and colors that final cut. It doesn’t require much collaboration with the editing department other than to get the files.
For most drone pilots though, they end up with an all-in-one job: pilot, camera op, editor, and colorist, amongst the other tasks involved in actually running their business.
It is important to note that color correction refers to work done in post-production, that is, working on the clip after it is already shot. There are methods you can use to adjust the color and create proper exposure while you are shooting, but color correction as we are going to talk about it is doing these things with a computer, with the finished shot.
Color correction actually doesn’t have much to do with color at all here. It is more about adjusting exposure and light levels to achieve a balanced shot, with pretty natural colors.
You can use Waveforms and Vectorscopes to help with achieving a “proper” color correction, but we are going to focus on doing it by look alone, since our goal is to easily make quick color passes on your shots, just to touch them up for your client’s eyes. There really is a whole science to color correction, and as much as I love to talk all day long about chromatics and things like color spaces, frequencies, wavelengths, and spectrum analyses, something tells me you aren’t here to recall lessons from your high school physics class.
Color Grading
Color Grading is the process of making creative choices to enhance your footage to better tell a story, or convey a certain feeling or emotion to your audience.
Color grading can involve color correction, by adjusting the light levels, but it also commonly involves adjusting the actual color of a shot, too. The most common color grading might consist of boosting a certain color in the shot or even adding a color that isn’t very prominent in the raw footage.
There aren’t really any right or wrong ways to do color grading. It all depends on the feel you want the footage and the cut to have.
WARNING: Color correction (and color grading) are NOT meant to replace the process of properly planning your shots and shooting them with a good exposure in the first place. You should always shoot your clips with proper exposure to begin with, or at least as close to proper exposure as you can. Even though it may look like magic, color correction is not a method that lets you say “Ehh, I don’t want to setup my camera correctly right now, so I’ll just fix all the issues in post-production”.
While post-production tools are getting increasingly better at letting you fix mistakes in shooting, more often than not, if you mess something up while shooting, it is hard to completely fix it in post. For example, if you shoot something very overexposed and then try to decrease the exposure in post, it isn’t going to work because the overexposed parts of the shot probably “clipped” in the sensor (reached a level that the sensor just cannot process and record).
So, if the data for that part of the image didn’t even get recorded, what do you think will happen when you decrease the exposure in post? It won’t be pretty.
So, color correction and color grading are tools that help you enhance a shot that already looks at least somewhat good, because it was filmed properly from the beginning. It isn’t a magic wand that replaces good planning from the beginning.
5 Pro Tips on Color Correction
Below are five “pro tips” to help the do-it-all drone pilot through coloring their individual clips right after filming or a cut of their reel.
1. Start thinking about your color correction process before even shooting your footage
Part of setting yourself up for proper color correction in post is making sure your camera is configured correctly.
Besides exposing your image correctly, you want to shoot with a “flat” color profile. This produces an image with the smallest amount of in-camera “color” as possible, meaning it gives you more latitude to work with the image in post.
It may look nicer right off the bat or easier just to record using a normal or default color profile, but avoid it as much as you can. There are certain situations where I truly do want to take the footage off the camera and have it look semi-nice to begin with, but 99% of the time I record with a flat image profile.
There’s much more to learn to perfect your aerial photography and videography. We’re partnered with Stewart and Alina over at Drone Film Guide where they teach drone pilots a 5-step framework for creating stunning aerial cinematography. As a partner, we’re able to offer our readers a $50 discount on their 8-hour online course, Drone Cinematography Masterclass 2.0, From Drone Owner To Aerial Cinematographer.
In DJI drones/cameras the profile is called “D-LOG”, in other cameras it varies, but a lot of time it is some variation of “log” or “neutral”. If you have a camera that records RAW footage, like the X5R, X5S, RED Epic, or ARRI Alexa, the RAW footage should already be in a flat color profile, as this is the nature of shooting raw in the first place. You are capturing the frames with as little processing from the camera as possible.
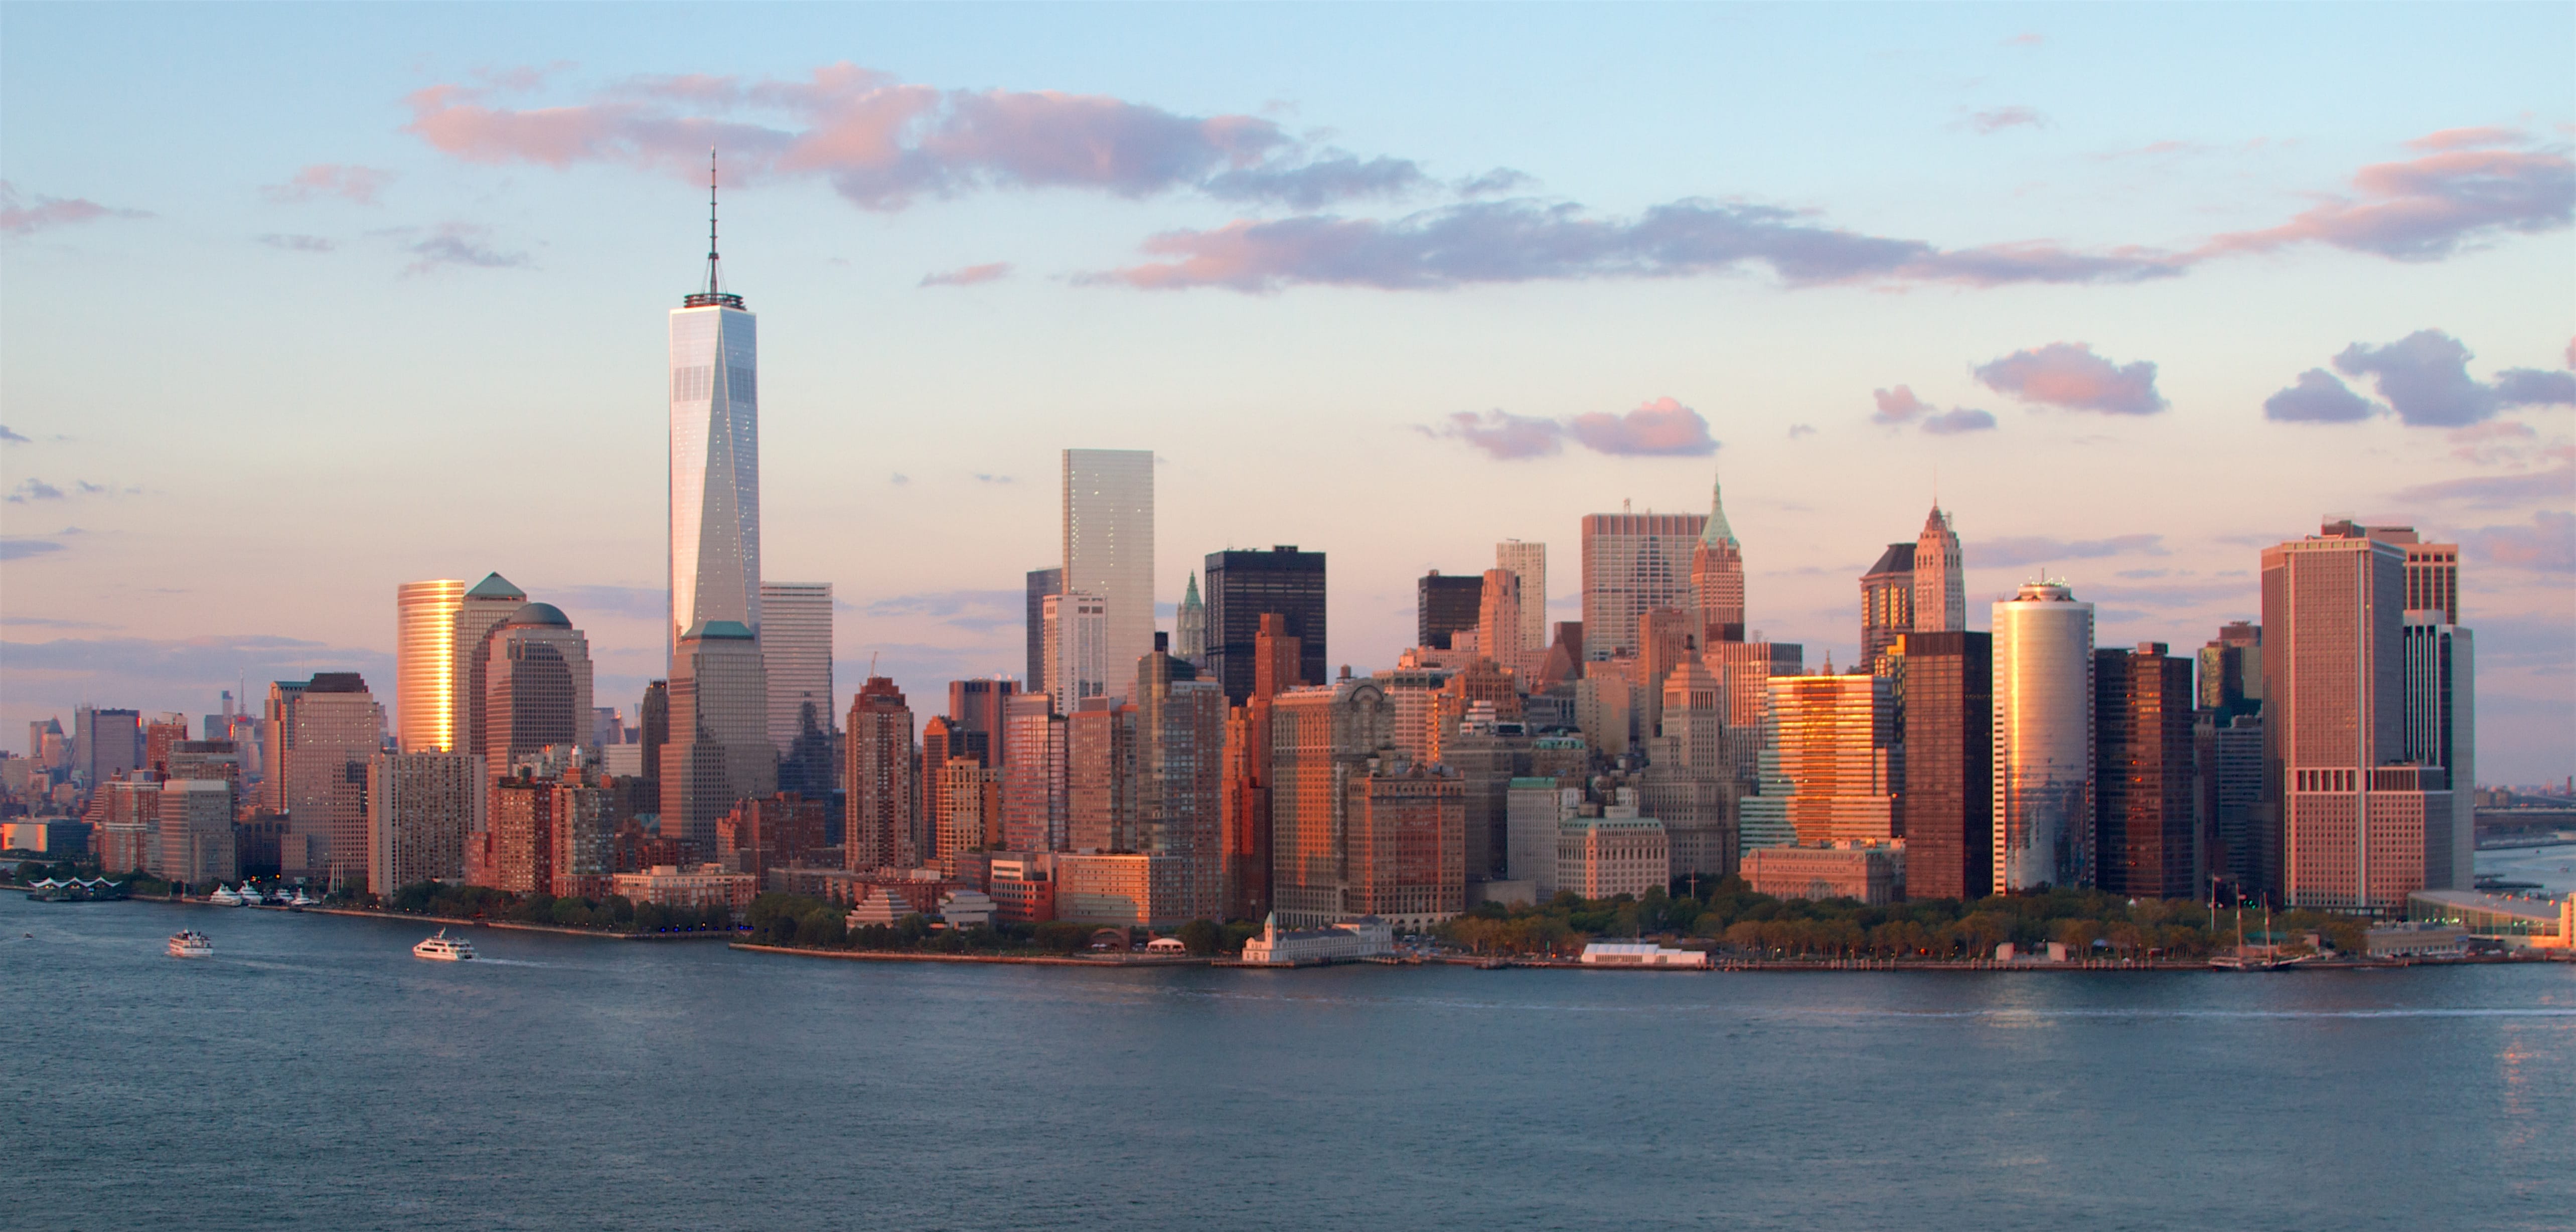
Normal profile
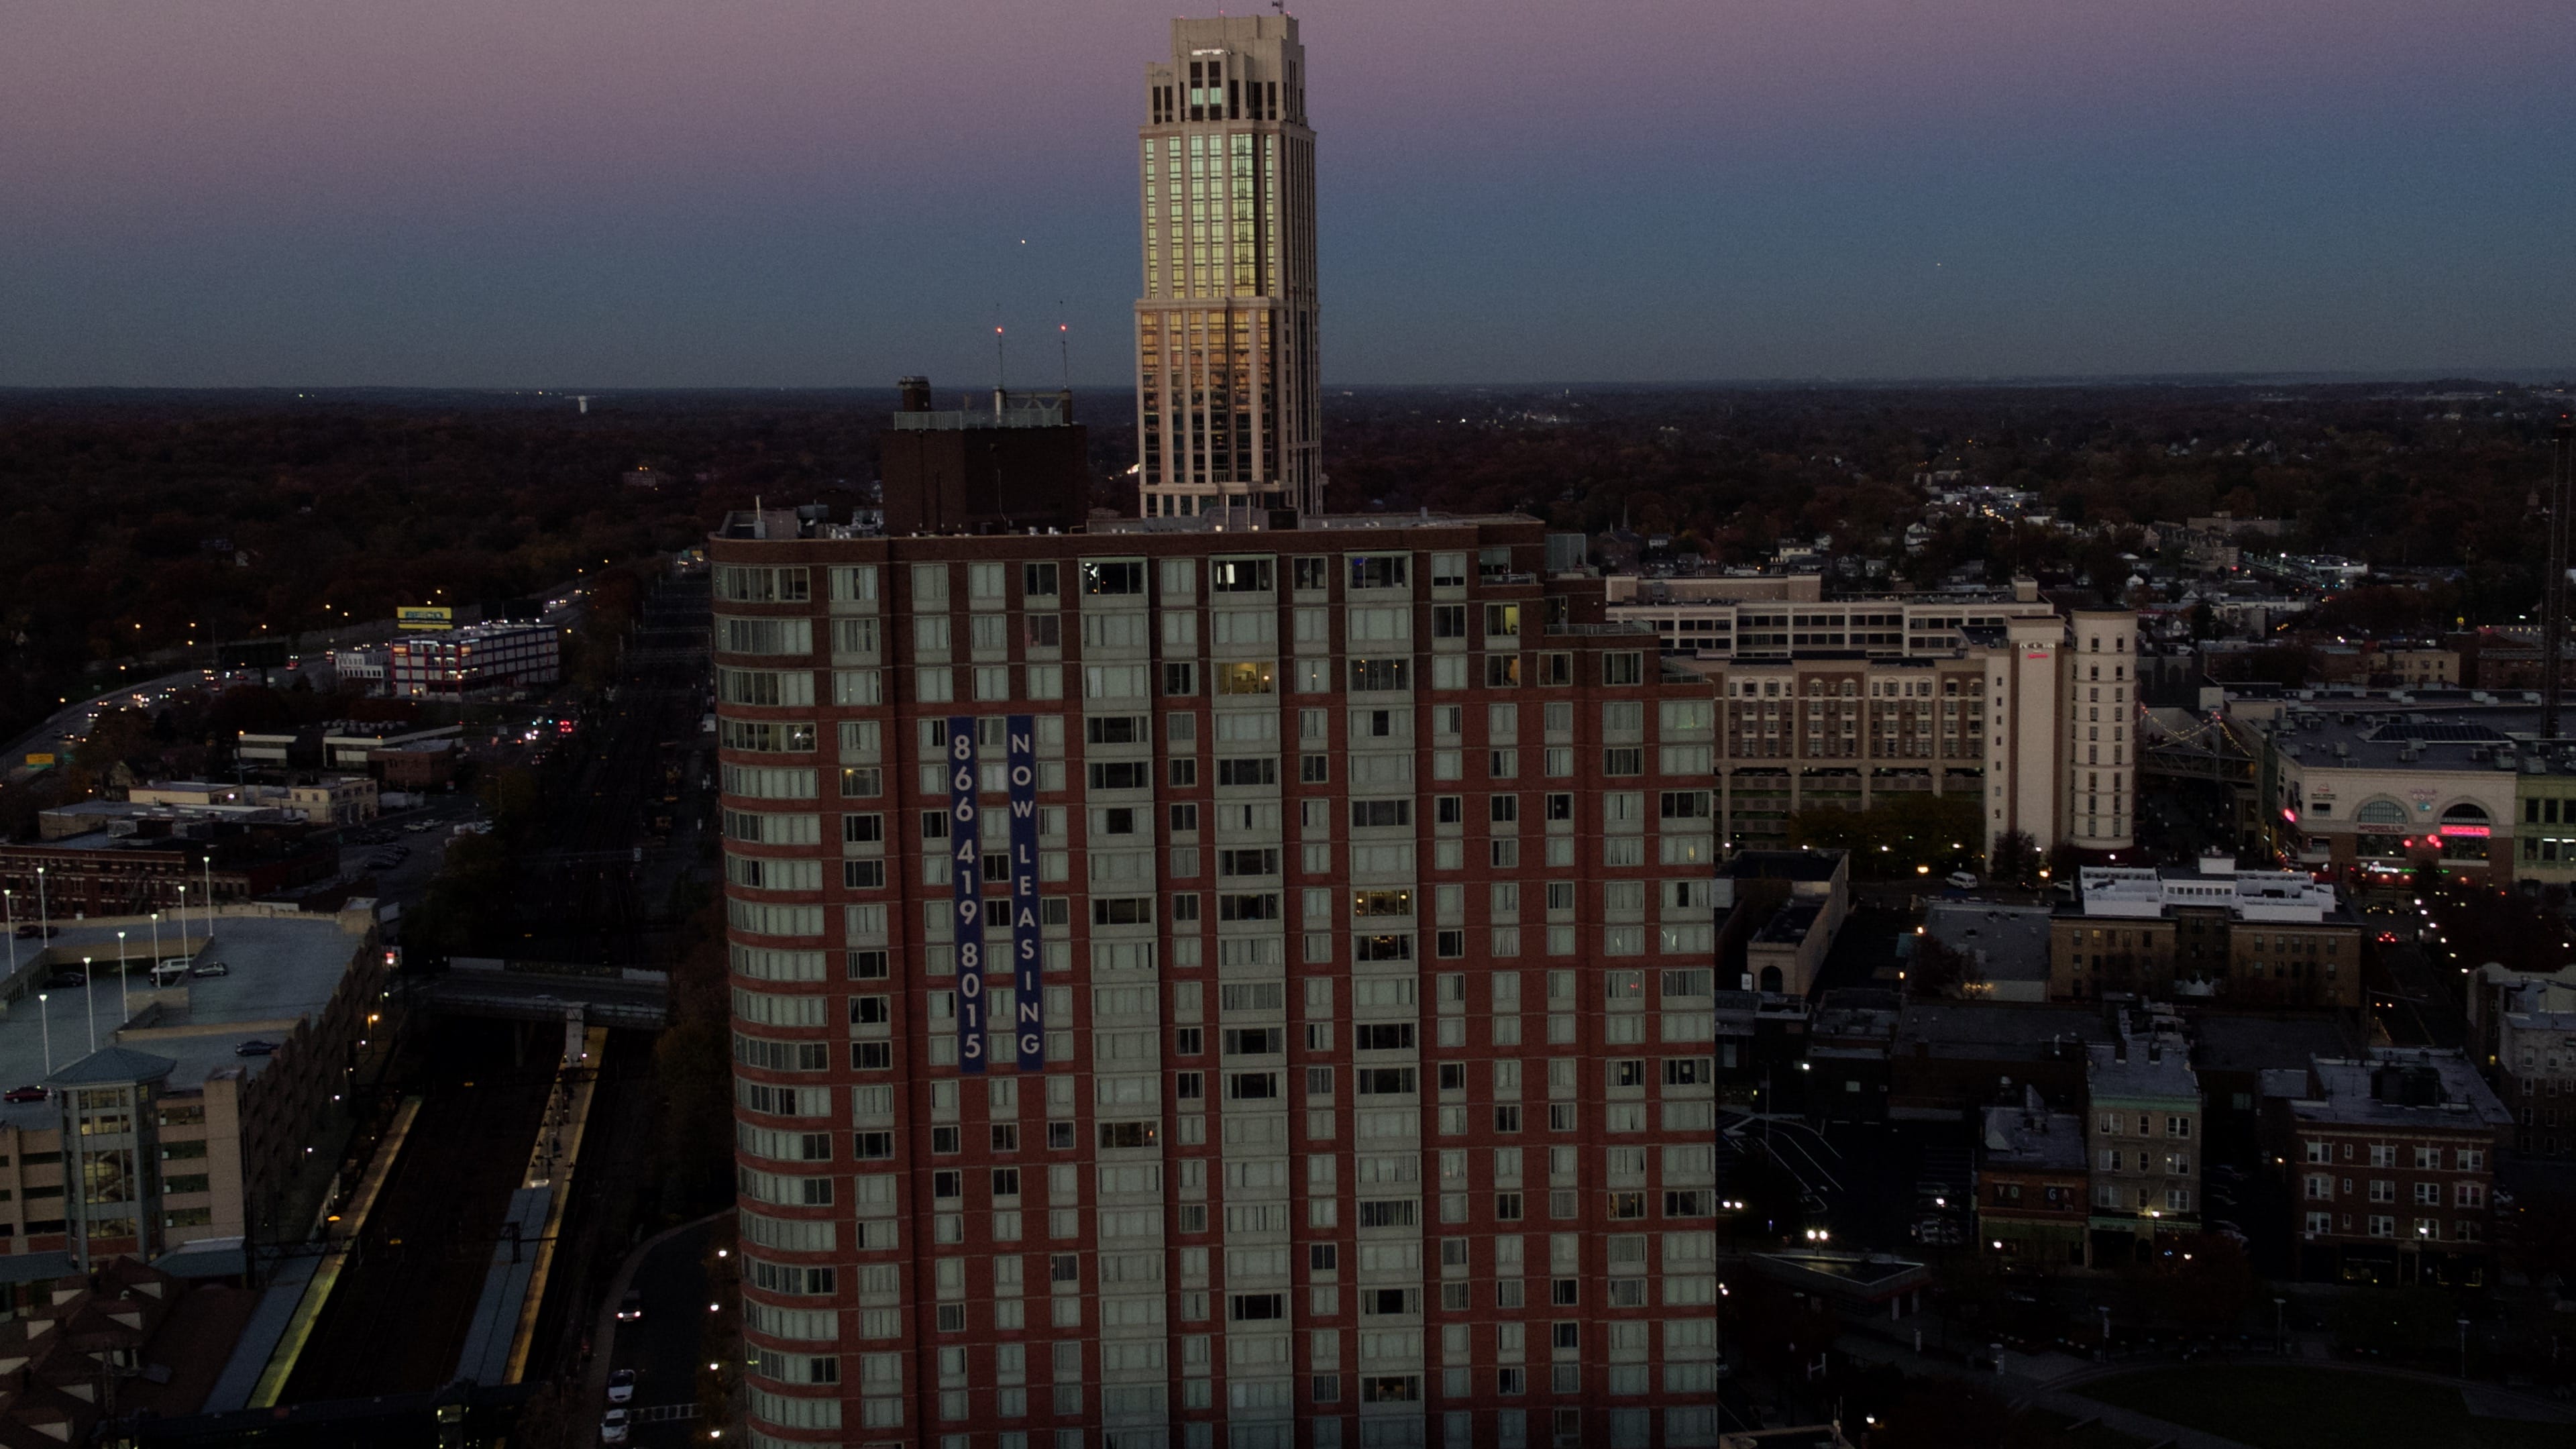
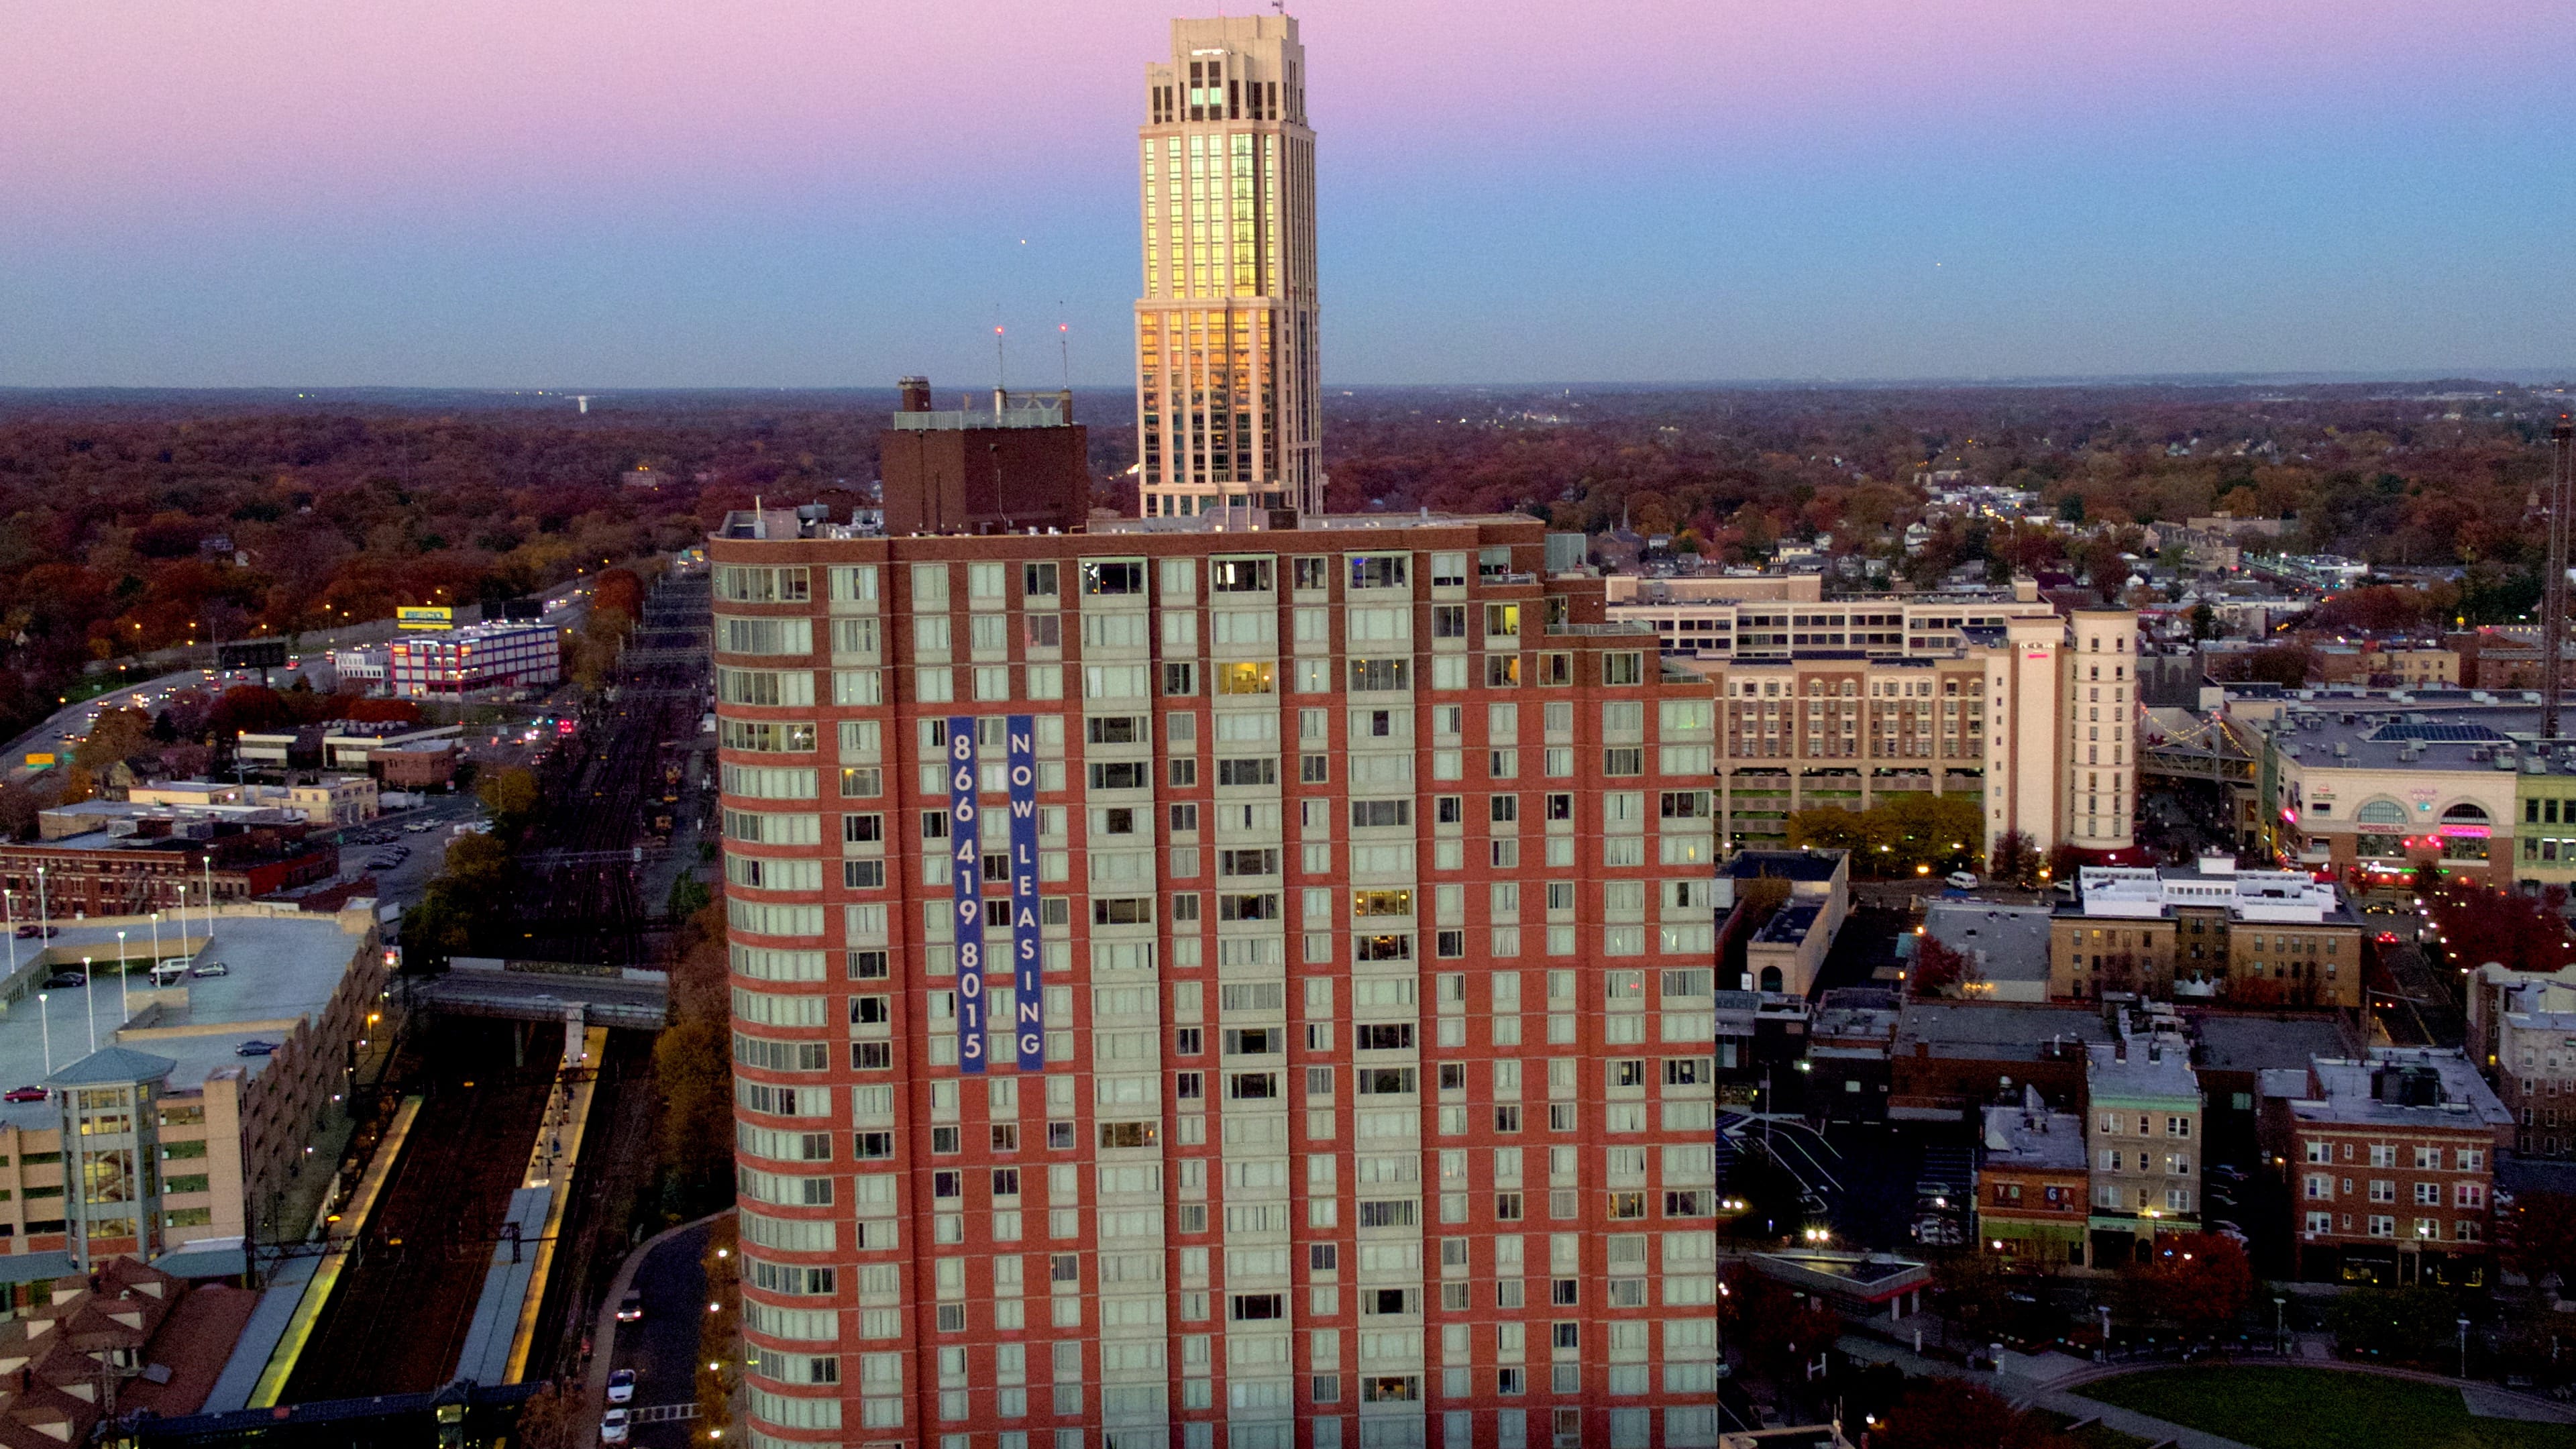
 Flat profile
2. Start adjusting the blacks (also called lift or shadows) first
A term you might hear people use when referring to basic color correction is “crushing the blacks”. Shadows refer to the darkest areas of the image, while whites (or highlights) refer to the brightest parts. Midtones (mids) refer to the light levels in between the black and whites.
While the answer isn’t always to “crush” them (i.e., move them down), most images shot during the day could benefit from decreasing the shadows, effectively giving you some immediate contrast.
This especially applies when working with footage shot with a flat profile, because it won’t have much contrast to begin with. Once you get these blacks “crushed” or decreased in value you have the baseline with which to begin the rest of the color correction process.

Blacks crushed
3. Adjust the highlights and midtones next to achieve good exposure
With the blacks adjusted properly for your exposure, move on to the highlights next.
Increasing the highlights gives you more of that contrast that helps most shots look great. It’s important to make sure not to adjust the highlights too much where the absolute brightest parts become overexposed.
In basic color correction, you may have to settle for a balance within any one of the light levels you are adjusting. In advanced color correction, you can do things like create power windows and masks that allow you to isolate certain parts of the image and place separate sets of adjustments on them, i.e. allowing you to adjust all the highlights in the image EXCEPT that area that is already overexposed because the camera wasn’t set correctly.
The last step in adjusting the light levels for exposure is the midtones. Once you have the contrast you want from shadows and highlights, use the midtones to balance out the image overall and achieve the final exposure of your shot.
There’s much more to learn to perfect your aerial photography and videography. We’re partnered with Stewart and Alina over at Drone Film Guide where they teach drone pilots a 5-step framework for creating stunning aerial cinematography. As a partner, we’re able to offer our readers a $50 discount on their 8-hour online course, Drone Cinematography Masterclass 2.0, From Drone Owner To Aerial Cinematographer.
When adjusting all of these light levels, it’s best to park your play head on a frame that is most representative of the whole clip, because unless you are cutting up your clip or using advanced color correction features, the adjustments you make will be made on the whole clip in the timeline.
If you make the adjustments while looking at a frame right in the beginning, but that frame is underexposed because you adjusted the aperture mid-recording 30 seconds after the start, then your entire color grade will be off, since it is based on that beginning frame’s exposure.
Take the time now to playback or scrub through your shot with the finished adjustments. See how it looks. Disable the adjustments in your NLE or coloring software temporarily to compare the now corrected shot with the original shot. Go back and make further adjustments as you see fit. Get the exposure set for what your vision of the shot is.

Highlights and midtones adjusted
4. Boost your saturation to achieve vibrant images (if applicable)
The last thing I want to do is get anyone in the mindset that there is a sure fire way to color footage and make it look great. So much depends on your footage, your creative style and the software you are using.
BUT, for a quick and dirty color pass like we are doing here, for most daytime, bright, aerial footage a boost in saturation can really go a long way. You want that footage to pop!
Make sure to do this in moderation though. Too much saturation is unnatural of course and could make the image too “surreal”. Play with it and see what looks best for your color look goal. Usually only a small adjustment of the slider(s) is needed.
Boost in saturation
5. Don’t be afraid to experiment when necessary, but don’t overdo it either
Use these tips as a baseline to get a basic color pass on your clips or cut to make them stand out when sending them to clients or uploading to the Internet. But more importantly than anything else, don’t be afraid to experiment with your color correction and grading process.
Just like with most other artistic processes, practicing coloring regularly will really help build up your confidence. And confidence really is key here, because every person is different in their approach to coloring. It is your work and your call (unless the client wants something specific).
There’s much more to learn to perfect your aerial photography and videography. We’re partnered with Stewart and Alina over at Drone Film Guide where they teach drone pilots a 5-step framework for creating stunning aerial cinematography. As a partner, we’re able to offer our readers a $50 discount on their 8-hour online course, Drone Cinematography Masterclass 2.0, From Drone Owner To Aerial Cinematographer.
Even if a client wants a specific look, every colorist has their way of looking at and approaching the shot. Don’t be afraid to get crazy with coloring some shots and to try out unique looks. You might be surprised with the result.
It’s all part of the creative process. But just make sure to HAVE FUN doing it though, because that is what really matters!
Flat original shot (inserted again for side-by-side comparison)
Final grade
Here’s another example of the entire process:

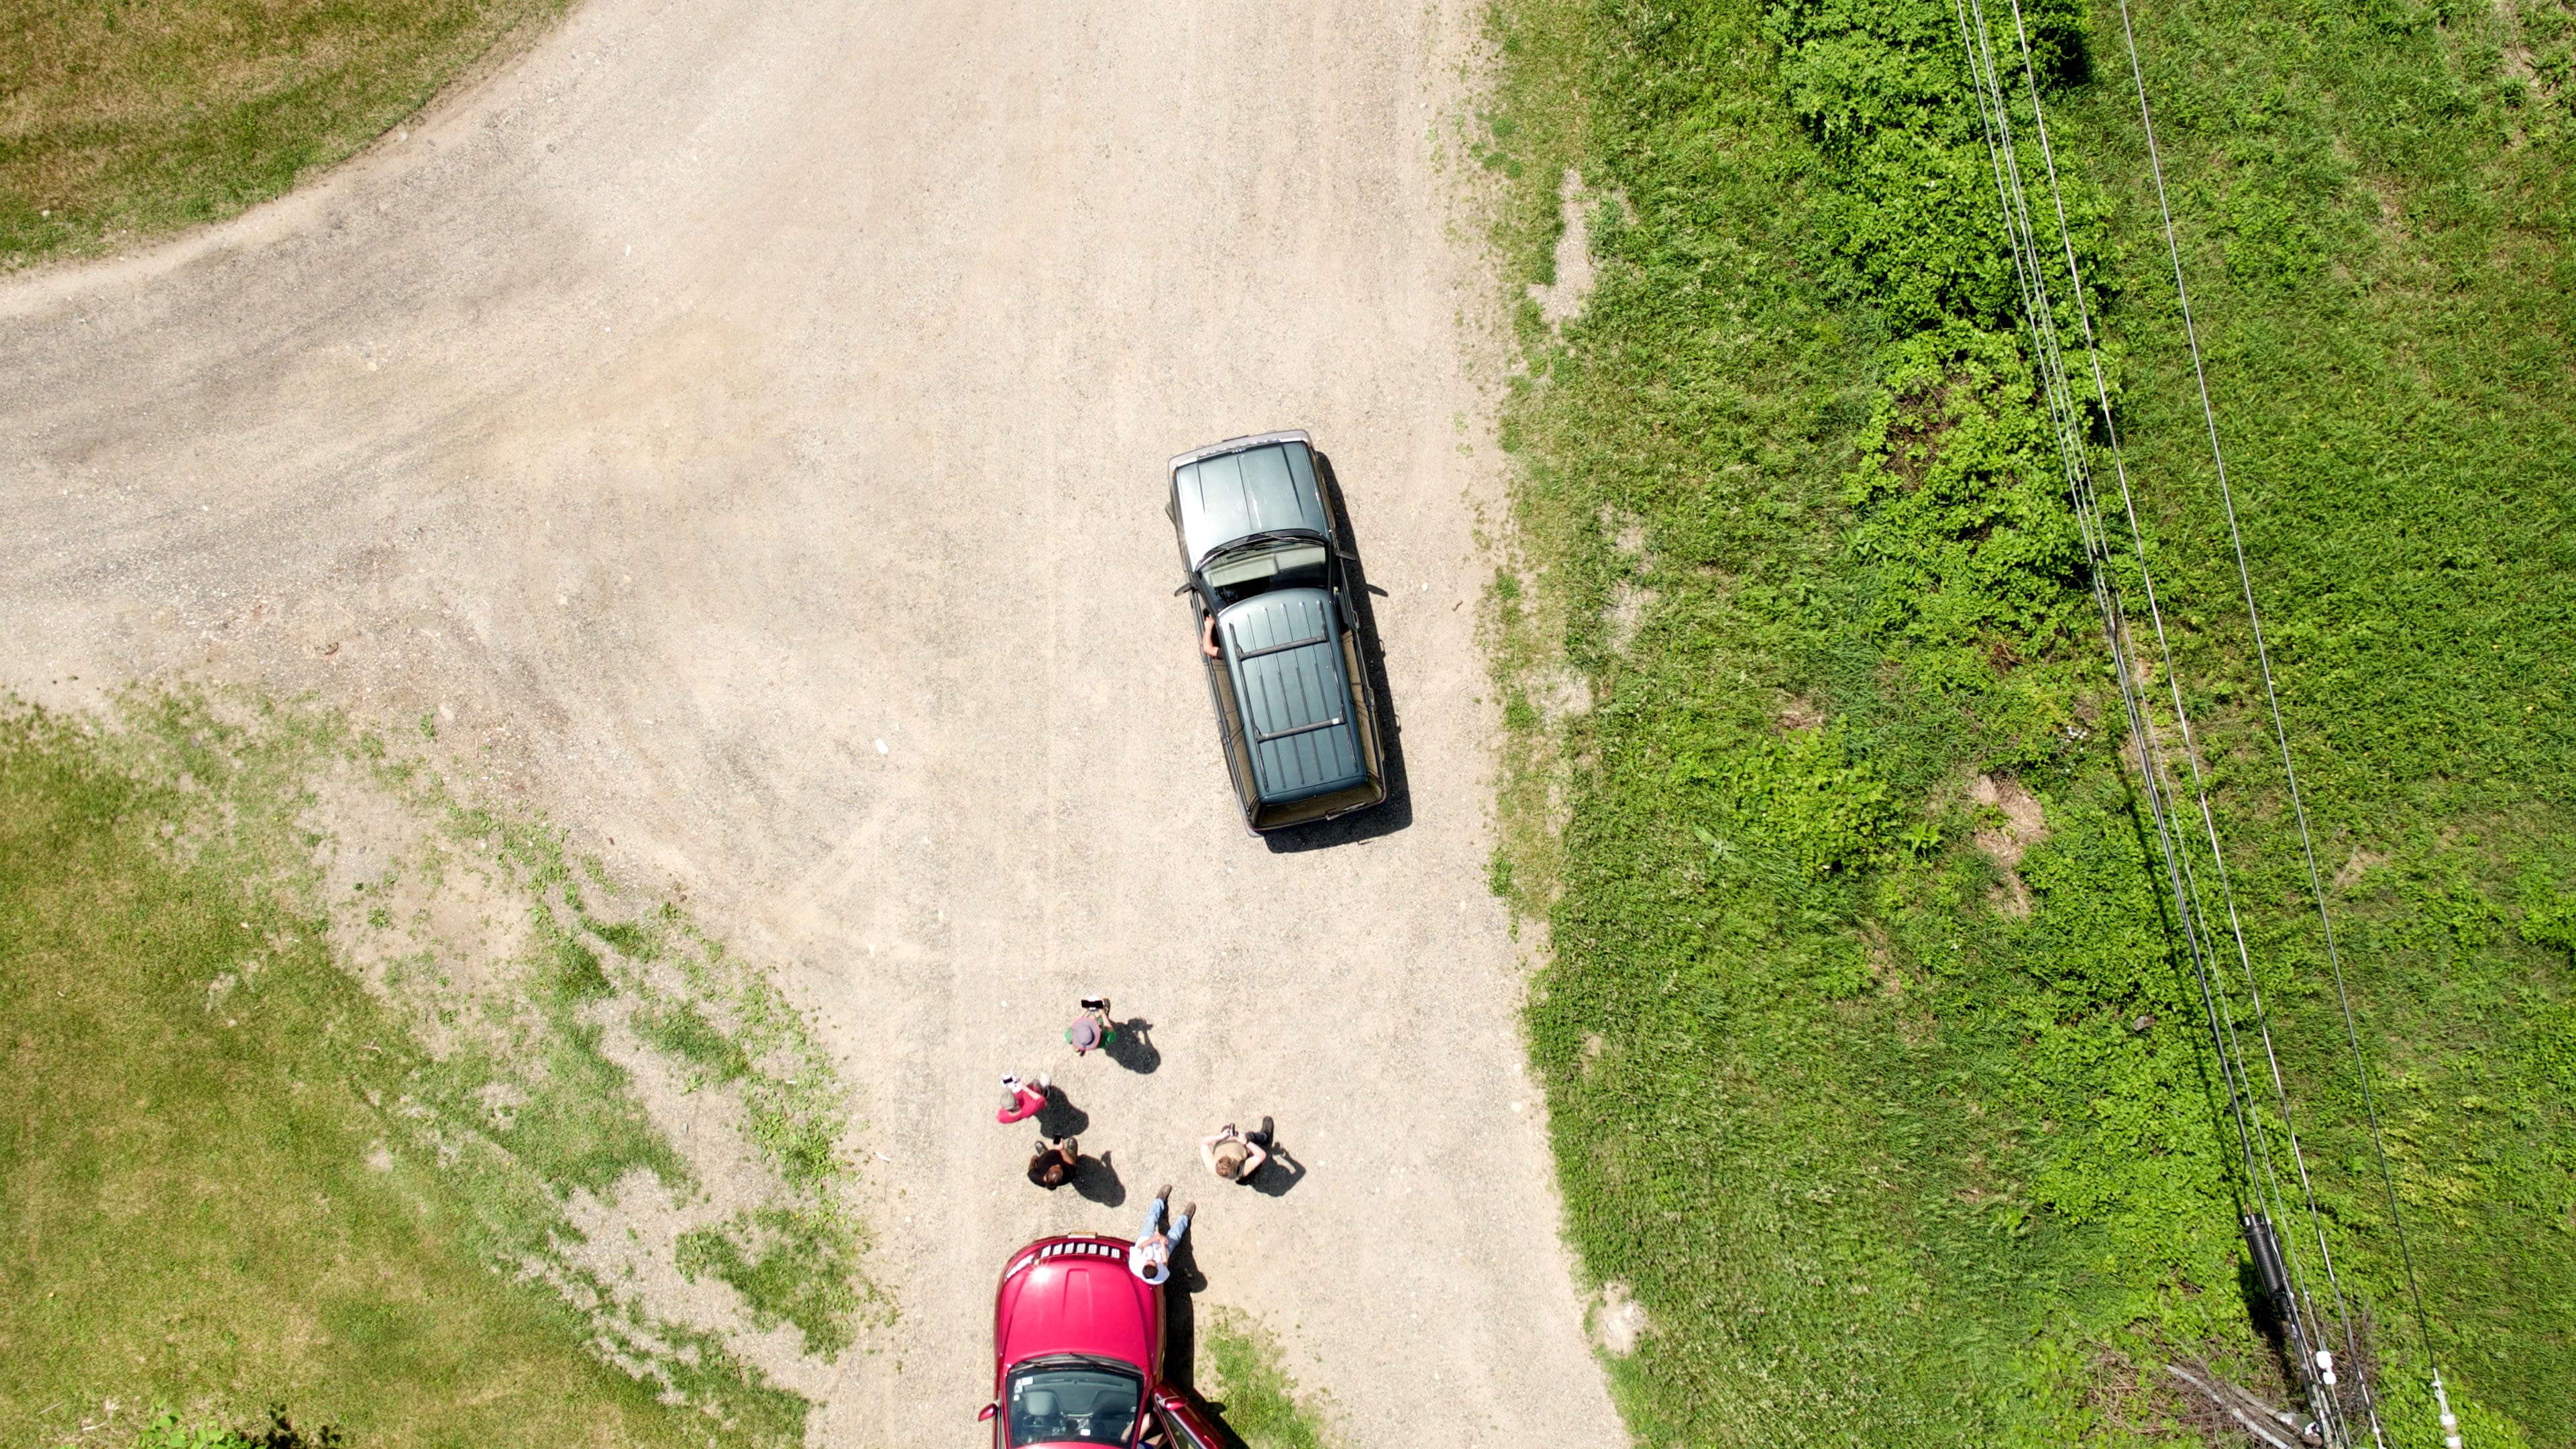
Flat original shot

Blacks crushed

Highlights and midtones adjusted
Flat original shot (inserted again for side-by-side comparison)
 Final grade


